Effective Methods to Remove Mold from Tile and Grout
To effectively tackle stains in tile and grout, especially when learning how to remove shower grout stains naturally, consider the following steps using natural ingredients and CG Chemicals products:
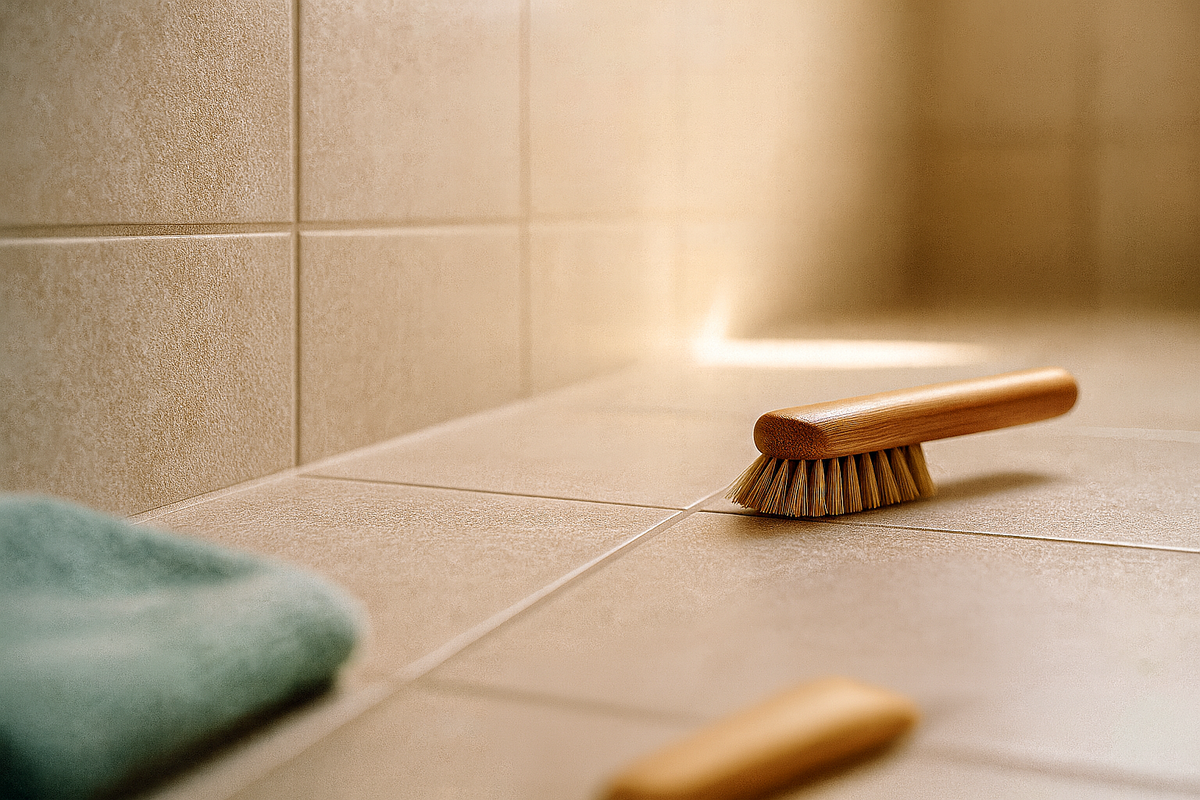
- Baking Soda and Water Paste: Create a thick paste of baking soda and water, then apply to affected areas. For shower grout, work the paste into grout lines with a toothbrush or grout brush, focusing on corners and seams where moisture accumulates. Baking soda not only works as a gentle abrasive but also absorbs moisture, which molds thrive on.
- Hydrogen Peroxide: Spray 3% hydrogen peroxide on the moldy areas. For shower grout, apply generously along grout lines and tile edges. Let it sit for ten minutes before scrubbing with a brush. Hydrogen peroxide is effective against a wide variety of mold.
- Vinegar Solution: Use white vinegar directly on the mold. For shower applications, spray vinegar on grout and let it penetrate for 15-20 minutes before scrubbing. Vinegar is mildly acidic and helps break down mold stains and mildew on grout. No need to rinse afterward; the smell will dissipate.
- Surgical Strike: For a professional-grade clean, consider using CG Chemicals' Surgical Strike, which combines the power of nature with advanced cleaning technology. For shower grout, spray directly on affected areas and allow to penetrate before scrubbing. It effectively removes stains without the use of harsh chemicals. Use with adequate ventilation and follow label directions.
How to Remove Mold from Shower Grout Naturally: Addressing Shower-Specific Challenges
Shower grout presents unique mold challenges due to constant exposure to moisture, heat, and soap residue. The combination of warm water and poor ventilation creates an ideal environment for mold growth. When addressing shower grout mold naturally, pay special attention to these high-risk areas:
- Floor and Wall Junctions: Water pools in corners and along the shower floor, making these prime locations for mold colonization.
- Showerhead and Fixture Areas: Constant water exposure and splash zones require more frequent treatment.
- Grout Lines Between Tiles: Porous grout absorbs moisture and provides texture for mold to anchor, especially in older, unsealed grout.
- Caulk Seams: Silicone caulking around tubs and shower pans can harbor mold beneath the surface if compromised.
For best results when treating shower grout, apply your chosen natural solution immediately after showering while surfaces are still damp, or pre-wet the grout to help the cleaning agent penetrate deeper.
Preventing Mold Recurrence
After successfully removing mold, the next step is to implement preventive measures:
- Maintain Low Humidity: Use dehumidifiers to keep indoor humidity levels below 50%.
- Ensure Proper Ventilation: Always ventilate areas prone to moisture, bathrooms and kitchens especially.
- Routine Cleaning: Regular cleaning with a solution of water and white vinegar can prevent mold buildup.
- Seal Grout: Consider applying a sealant to your grout lines to make them more water-resistant.
Conclusion
Removing stains from tile and grout doesn't have to involve harsh chemicals. By pairing natural methods with CG Chemicals products made with no bleach or ammonia, you can keep tile and grout looking clean in your home or business.
Sources
- Wellness Mama: Natural Tile and Grout Cleaner Recipes
- Zerorez: Shower Grout Mold Removal Guide
- Carpets Unlimited: Eco-Friendly Grout Cleaning Methods
- Harvard Health: Mold Health Risks
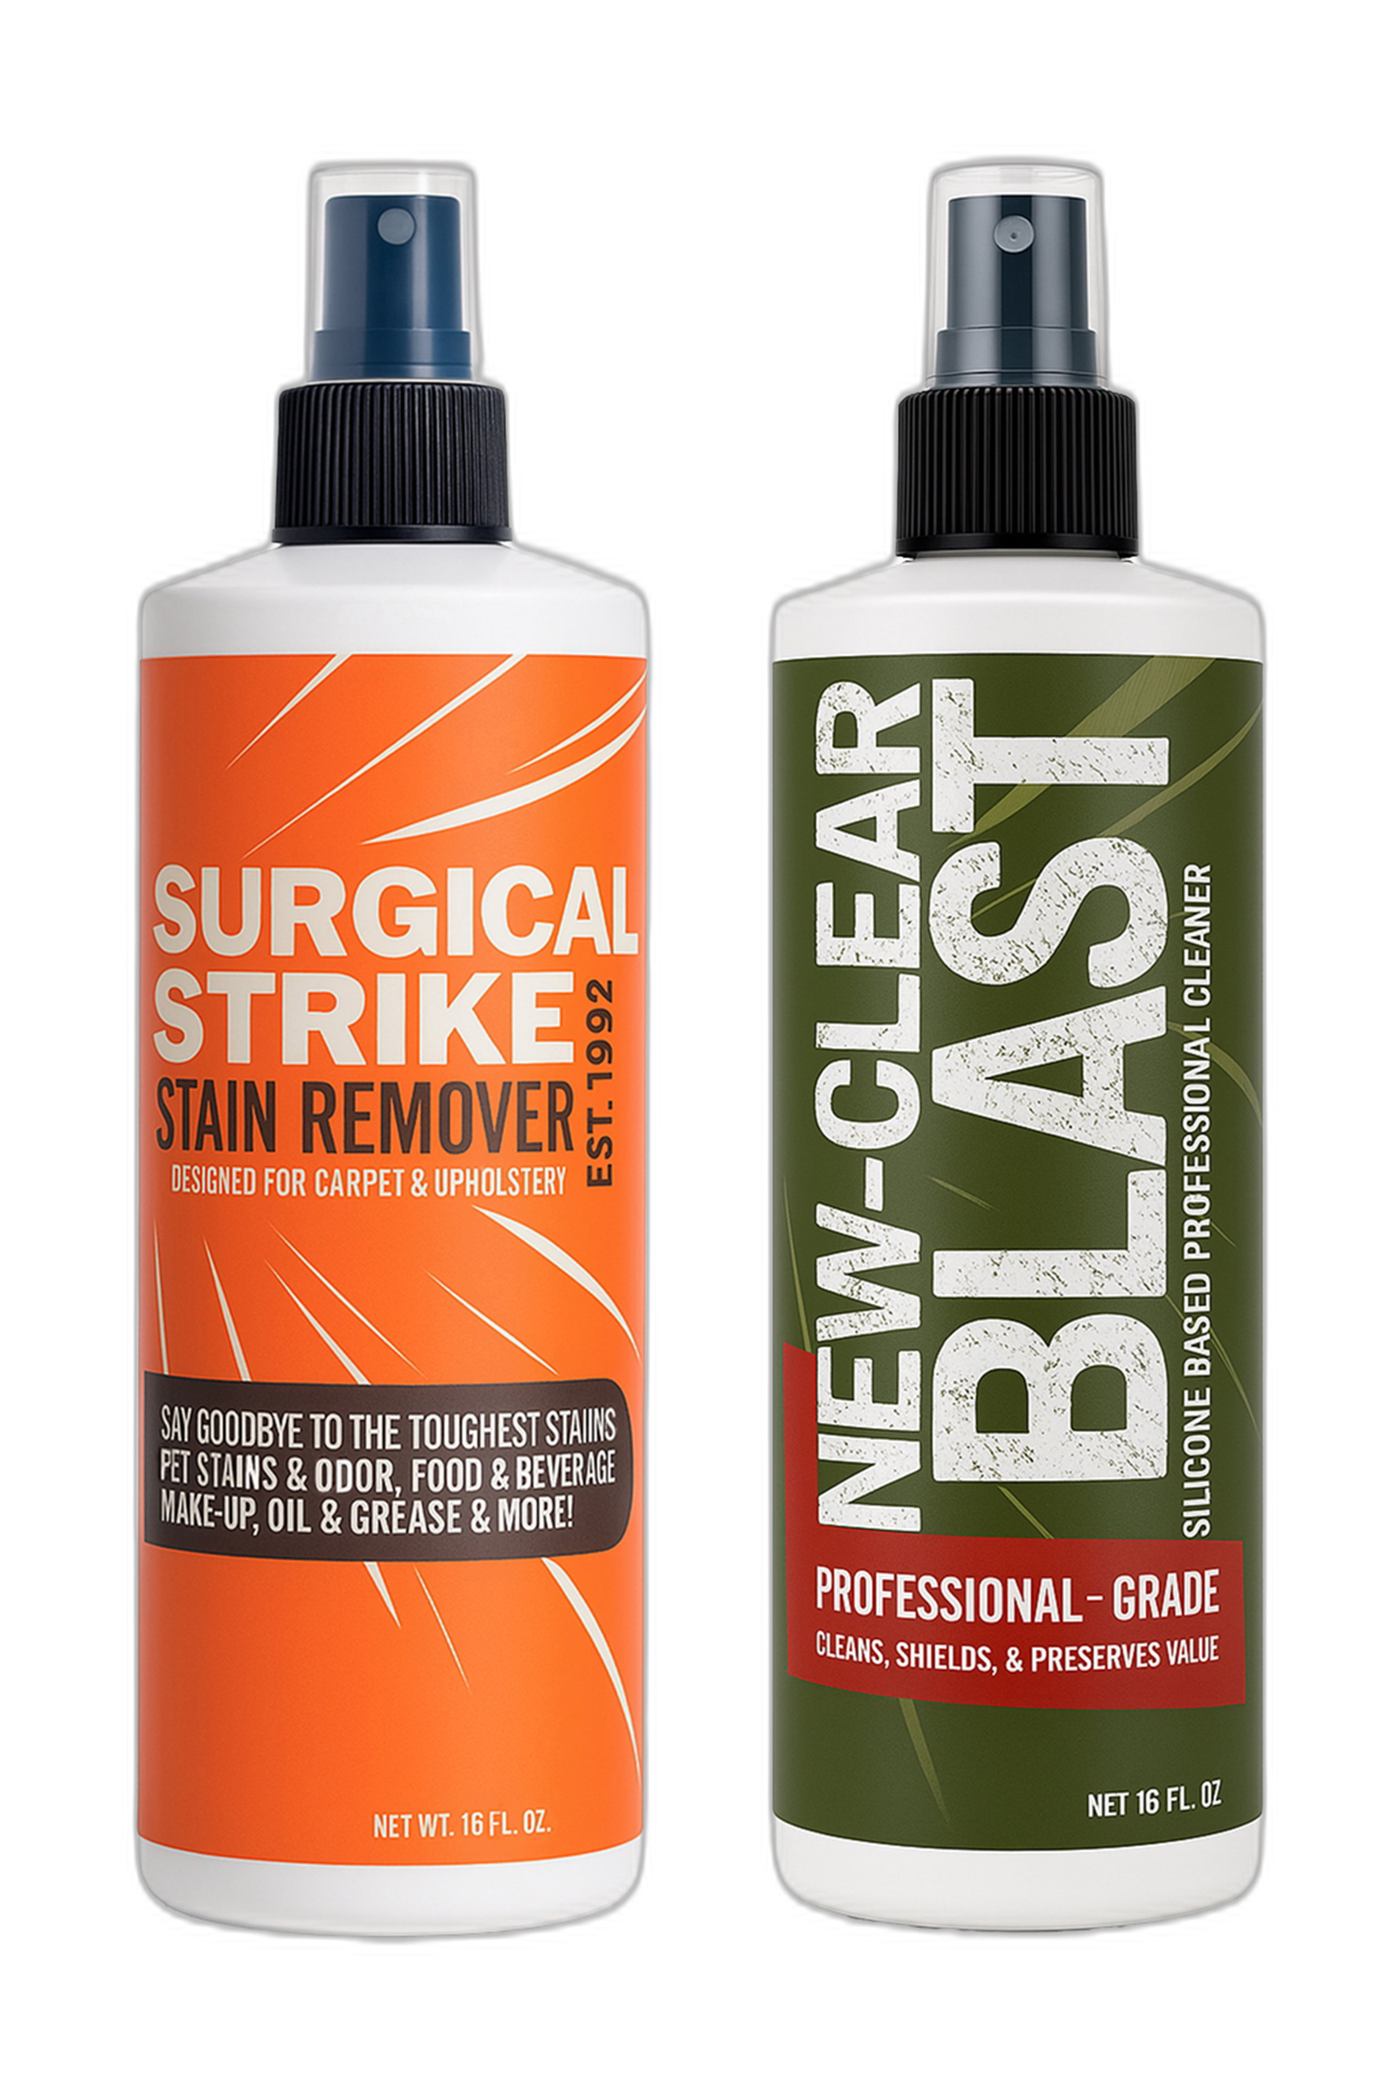
Two formulas. Serious range.
Use Surgical Strike for stains and odor, then New-Clear Blast to clean, shield and preserve hard surfaces.